Post
 Posted By: ricksrealpitbbq 
Apr 22  # 16 of 21
I still have other work to do on it, but she's just about done

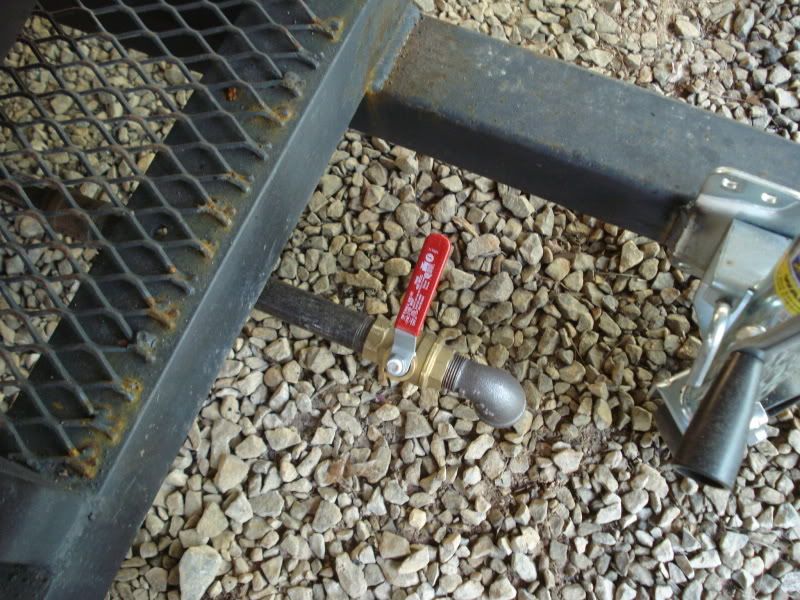
Here is the valve for the grease drain

DSC04377.jpg

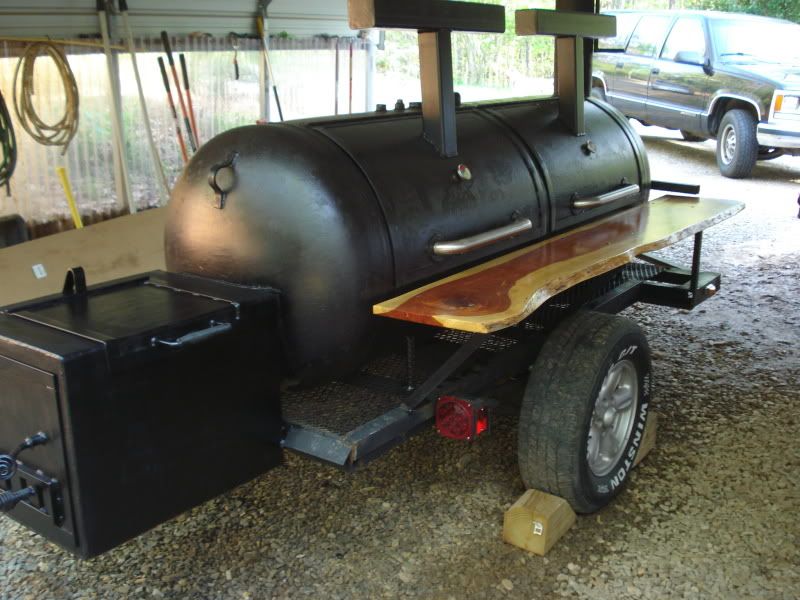
A quick coat of paint and the shelf installed

DSC04382.jpg

DSC04381.jpg

DSC04380.jpg

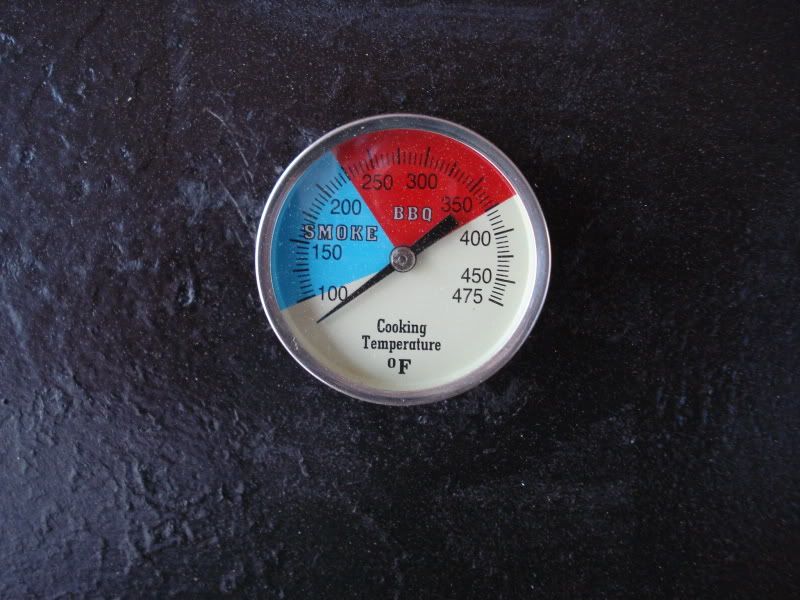
And a pic of the temp gauges I'm using

DSC04384.jpg
Post
 Posted By: ChileFarmer 
Apr 22  # 17 of 21
Rick, I am watching for smoke. Sure looking good from here. CF:)
Post
 Posted By: chubbyalaskagriz 
Apr 23  # 18 of 21
Wow, Rick. What a BEAUT! For real man... she's gorgeous! :)
Post
 Posted By: ricksrealpitbbq 
Apr 23  # 19 of 21
Thanks for the comments guys.

CF, I like your setup and thanks for sharing your pictures. I definitely need tuning plates. I did a burn in before I painted it and I had a 20 degree difference side to side. Hotter on the fire box end. Tuning plates will even it out for sure. She was real good on wood in my opinion. The first burn was an all out roaring fire to get it as hot as I could to season it. The second fire I installed the thermometers and did a more controlled burn. I used 4 lbs of lump charcoal and 6 pieces of oak for 8 hrs and maintained 220 to 240 degrees the whole time. It took about 35 minutes to get the pit up to temp. I wasn't sure how long it would take because of the thickness of the steel tank and the volume. But I was impressed with how quick it came up to temp.

I'll do my first cook tomorrow, and see how she cooks. I don't expect any surprises, but ya never know :confused:
Post
 Posted By: ricksrealpitbbq 
Apr 23  # 20 of 21
Quote rgacat wrote:
Looking good so far Rick. Is that about a 200 gallon tank? Keep the photos coming.
Ronnie

It's a 250.