Category: Cooking Ideas

Homemade Sloppy Joes Recipe

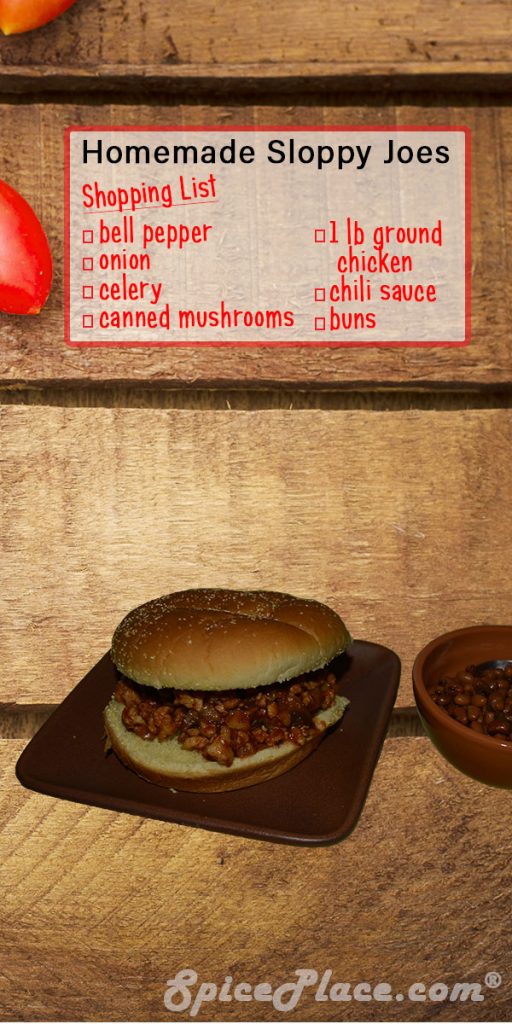
Serving of Homemade Sloppy Joe Recipe

Sloppy Joes are a go to meal around our home when we are looking for a simple, fast meal. You can take a cheat and use a product like Manwich … But that’s not really saving you all that much work as this is a simple dish. So, here is our recipe for a simple and tasty sloppy joe. We use ground chicken. You could replace that with ground turkey or ground beef. Yet, this is one of those recipes with flavor that the lighter tasting meats like chicken and turkey excel.

What you need:

  • 1 pound ground chicken, turkey or beef
  • 1/2 cup each of chopped green bell pepper (membrane removed), onion and celery
  • 1 can chopped mushrooms (our cheat, could use fresh and cook a little longer)
  • 1/4 cup plus 1 tbsp chili sauce (can substitute with tomato sauce and 1 tsp dark chili powder)
  • Your favorite bun
  1. Cook pepper, onions, and celery in a little canola oil or butter over medium heat until just tender.
  2. Add ground chicken (or your choice of meat) and cook, stirring/turning often until lightly browned.
  3. If using fresh mushrooms, add and cook for 10 minutes over low-medium heat; Otherwise add can of mushrooms and stir in.
  4. Add chili sauce and simmer, covered for 5 minutes longer.

Serve on a toasted bun. Sides that go well with Homemade Sloppy Joes include: Baked Beans, Cole Slaw, French Fries, Macaroni Salad and Onion Rings.
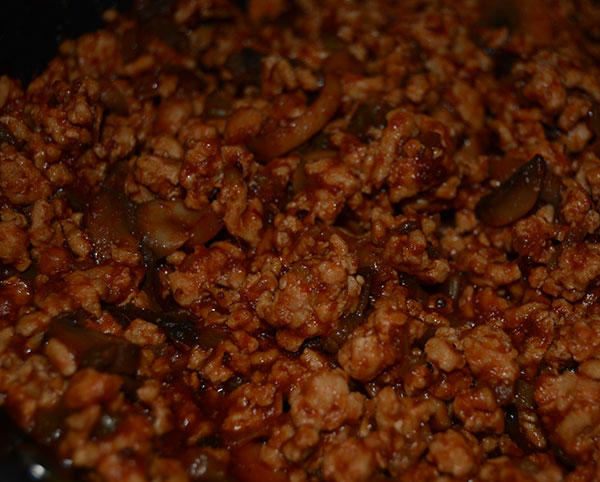
Prepared Sloppy Joes In Pan - Ready To Serve
Prepared Sloppy Joes In Pan – Ready To Serve

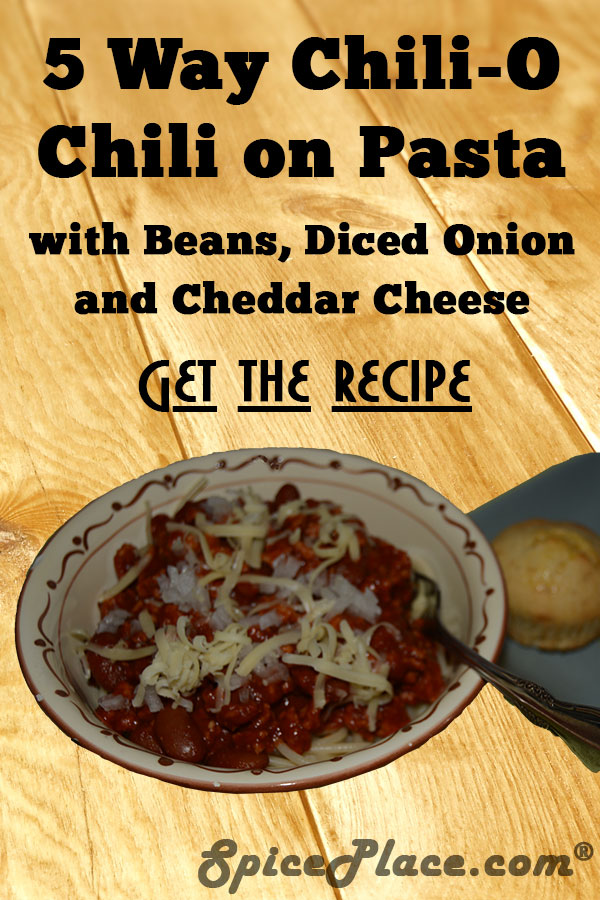
5 Way Chili Bowl

5 Way Chili Bowl Recipe

This is our recipe for a Five Way Chili Bowl. We’ve been making chili this way for a long, long time. And while we’ve tried many seasoning blends for making chili, we’ve found the French’s Chili-O (which is also sold as the identical product as Durkee Chili Pronto), makes an excellent tasting chili very quickly.

This recipe is called Five Way Chili because of it’s five main layers at serving time: 1) Your favorite pasta, 2) chili, 3) beans, 4) diced onion and 5) shredded Cheddar cheese. You could make it Six Way by topping with some hot sauce.

So you can make recipe from start to finish in, say 20 minutes, 29 minutes tops. First, start your oven at 400° F. Then mix up a prepared cornbread mix. We like to pour the cornbread into cupcake liners inserted into a muffin pan. This makes cleaning up the pan easier and helps hold together any leftover cornbread for a snack later on. Then toss the cornbread in the oven and bake according to the package instructions.

Next, start making the Chili. You can use your own recipe, and skip ahead to the assembly instructions or make our recipe for Chili-O as described here. Chili-O makes making Chili quick, easy and as I already said, is our go to chili seasoning. You can find Chili-O here at Spiceplace.com by following the link in the ingredients list.

Making Chili with French’s Chili-O (also known as Durkee Chili Pronto)

Ingredients List

  • 1/3 cup French’s Chili-O Seasoning
  • 1lb lean ground beef, chicken or turkey
  • 1 (14-16oz) can diced tomatoes, undrained
  • 1 (14-16oz) can red kidney beans, undrained
  • Package of cornbread mix

Preparation Instructions

  1. In a large non-stick skillet brown the ground beef. Drain fat.
  2. Meanwhile, prepare your favorite pasta. We use spaghetti or linguine pasta.
  3. Stir in French’s Chili-O Seasoning. Add tomatoes, and kidney beans. Mix well.
  4. Bring to boil while stirring frequently.
  5. Reduce heat, and simmer for 10 minutes. Stir occasionally.

Assembly Instructions

Add pasta to a bowl or on a plate. Don’t use too much pasta as it’s best with the chili mixed in well. Now add enough chili to mix together and coat pasta well. If you followed our instructions above, the beans are in the chili so you have 3 Way Chili already. Now it’s time to add the last two toppings, some freshly diced onion and some shredded Cheddar cheese. And you have Five Way Chili and it’s time to enjoy. Serve with one or two cornbread muffins. Note this recipe would work well with elbows (ala Chili-Mac), egg noodles or penne. We’ve tried many and have settled on the spaghetti.

French’sTM is the registered trademark of The French’s Food Company, LLC

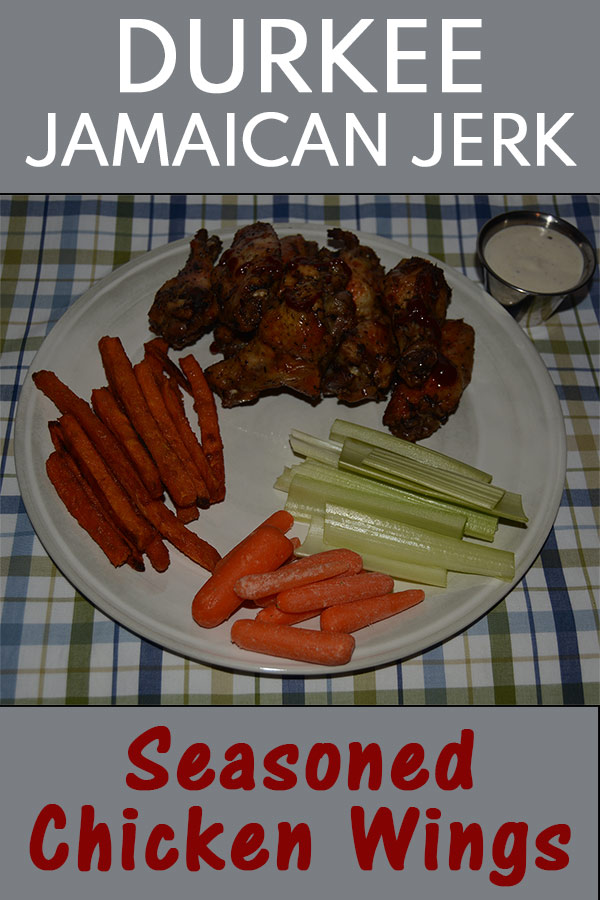
Jamaican Jerk Seasoned Chicken Wings

Durkee Jamaican Jerk Seasoned Chicken Wings
While Buffalo Wings are the standard fare when cooking chicken wings, sometimes we get the feel for the islands. This Jamaican Jerk Seasoned Chicken Wing dinner fulfills that Island desire. Plus there is minimal preparation and it’s baked in the oven so it’s not a time demanding meal.

What You Need

  1. Add lemon juice, water and Jamaican Jerk Seasoning to a measuring cup and mix.
  2. Place chicken wingettes in a large gallon sized zipper style plasic bag and pour seasoning mixture over the wings.
  3. Seal bag and shake or turn over to evenly coat wings with seasoning mixture.
  4. Place in refrigerator for one hour to marinate.
  5. Heat oven to 425 degrees F.
  6. Place wings on a single layer in a large baking pan, cover with aluminum foil and place in oven. Bake for 1 hour total, removing cover after 45 minutes. Test for doneness (180° F) with meat thermometer.
  7. Serve with cutup celery, carrots, blue cheese dressing and fries (sweet potato fries shown in picture) and Sriracha Hot Sauce.

Easter Themed Dyed Deviled Eggs

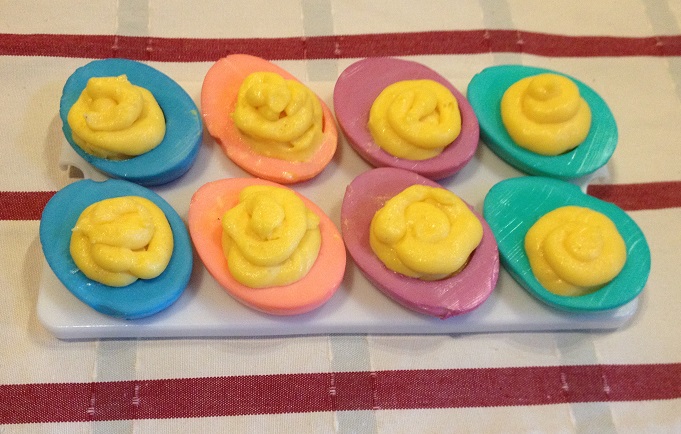
Easter Themed Deviled EggsEaster Themed Deviled EggsEaster Themed Deviled Eggs
Easter Themed Deviled Eggs

Easter means eggs and lots of color. Combine the two into a uniquely beautiful edible deviled egg dish that your guests will love to look at and enjoy eating.

Dyed Deviled Eggs

Ingredients List for Easter Dyed Deviled Eggs

Preparation Instructions for Easter Dyed Deviled Eggs

Make Basic Hard Boiled Eggs

  1. Place eggs into a large saucepan, cover with cold water, and bring to a boil.
  2. Let eggs boil for 3 minutes; turn off heat, cover pot, and let eggs cook in hot water for at least 20 minutes.
  3. Drain and cover eggs with cold water.
  4. Peel cooked hard boiled eggs as soon as they are cool enough to handle.

Prepare Cooked Eggs For Dyeing

  1. Cut hard-cooked eggs in half lengthwise
  2. Carefully remove yolks.
  3. Place yolks in mixing bowl and set aside for now.
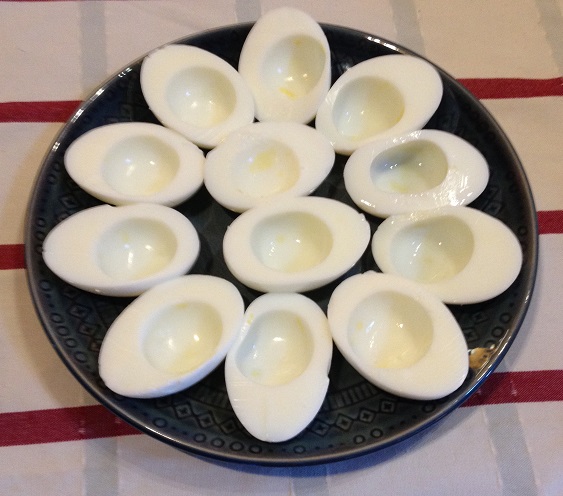
Hard Cooked Egg Whites Ready for Dyeing

Dye the Egg Whites

  1. Carefully rinse the egg whites with cold water to remove any remaining egg yolk.
  2. Prepare a container for the dye solutions. Either use a heavy duty zipper style plastic bag or separate cups for each color you are using. Fill container with 3/4 cup cold water.
  3. Add food color drops to water to get desired color – see blending chart below. Use 10 or 15 drops of each color will be enough for each main color (red, blue, green, yellow).
  4. Place egg whites in colored water.
  5. Move egg whites around in colored water to evenly color the eggs and avoid light color spots on the egg whites.
  6. Leave the eggs whites in the solution for about 30 – 45 minutes. Once the desired color is achieved. The longer you leave the eggs in the dye solution the deeper the color they will have. Move to next section and prepare filling while eggs are soaking.
  7. Remove eggs and allow to drain on paper towels cut side down.
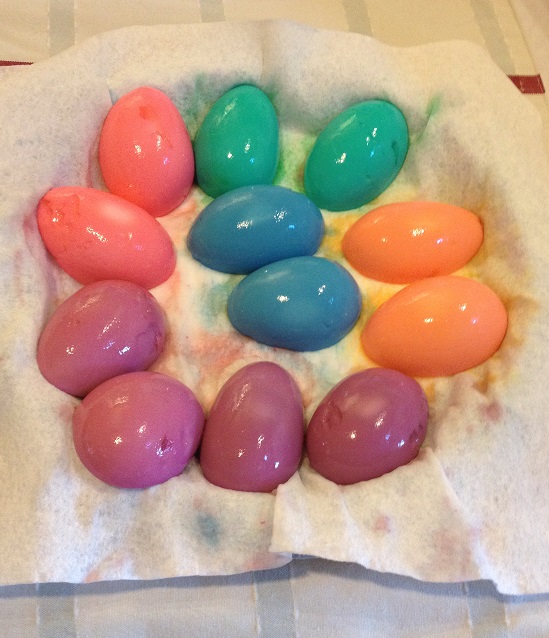
Colored Egg Whites turned over and drying

Mixing the Deviled Egg Filling:

  1. Mash egg yolks with a fork or a food processor. Making sure there are no lumps.
  2. Add McCormick White Pepper, McCormick Dry Mustard, salt and 2 to 3 tablespoons mayonnaise to mashed egg yolks. Mix well.
  3. Add more mayonnaise to get desired consistency.
Prepared Deviled Egg Filling Mixture

Final Assembly of Easter Dyed Deviled Eggs

  1. Spoon a heaping amount of egg yolk mixture into each egg white. Alternately, you may use a pastry bag to pipe the egg yolk mixture into the egg whites.
  2. Sprinkle the tops with McCormick Smoked Paprika for flavor and presentation.

Place colored deviled eggs on plate and enjoy!

Food Color Blending – Use Equal Drops of Each Color

  • red + blue = purple
  • blue + yellow = green
  • yellow + red = orange
  • red + green = brown
  • green + yellow = lime green
  • blue + green = turquoise

Saint Patrick’s Day “Peppermint Patty” Cookies

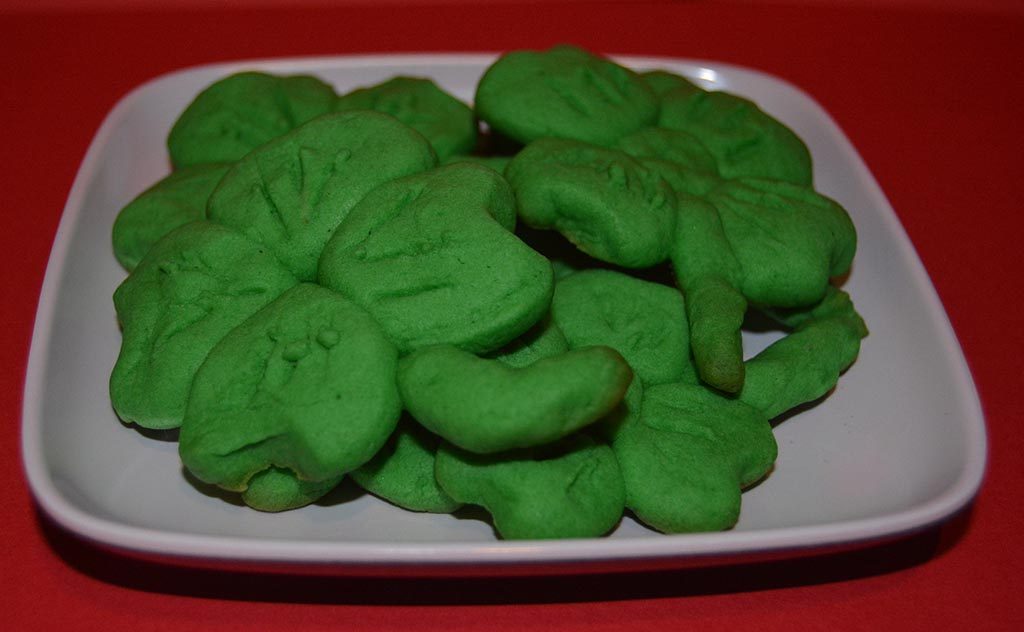
Saint Patrick's Day Peppermint Patty Cookies
Saint Patrick’s Day Peppermint Patty Cookies

Peppermint Patty Lucky Clover Cookies

Hello folks, with these Luck o’ the Irish cookies you can make a Grand St. Patrick’s Day surprise for the whole family. They have a wonderful minty flavor from the Peppermint Extract so they are ‘Peppermint Patty’ Cookies. Get it?

They are made without baking soda so they are like pressed cookies. Yet they’re not hard like pressed cookies and have a mouth feel of an after dinner mint when fresh.

Ingredients:

  • 1 cup Unsalted Butter (softened)
  • 1 cup Sifted Confectioners Sugar
  • 1 Egg
  • 1 to 2 teaspoons McCormick Pure Peppermint Extract
  • 2 1/2 cups Flour
  • 1 teaspoon Salt
  • 1 1/2 teaspoons McCormick Green Food Coloring

Instructions:

  1. Heat oven to 375° F.
  2. Mix butter, sugar, egg, and McCormick Pure Peppermint Extract thoroughly.
  3. Stir in flour, salt, and McCormick Green Food Coloring.
  4. Thoroughly mix all ingredients.
  5. To shape Lucky Clovers, roll 4 small balls (1/4 teaspoon of dough).
  6. Place 4 balls forming a square on parchment paper lined baking sheet.
  7. Flatten balls with your fingers into Lucky Clover shapes leaving a space between balls. You can place a small flattened ball in the center of the four flattened balls.
  8. Take a small amount of dough and shape into a stem and place the stem on your Lucky Clover.
  9. Complete all cookies one at a time or the tiny balls may become dry and crack when pressed.
  10. Bake for 9 minutes until just some browning around edges.

Makes 9 dozen Peppermint Patty Lucky Clover Cookies.

On Easy Street Oven Baked Baby Back Ribs

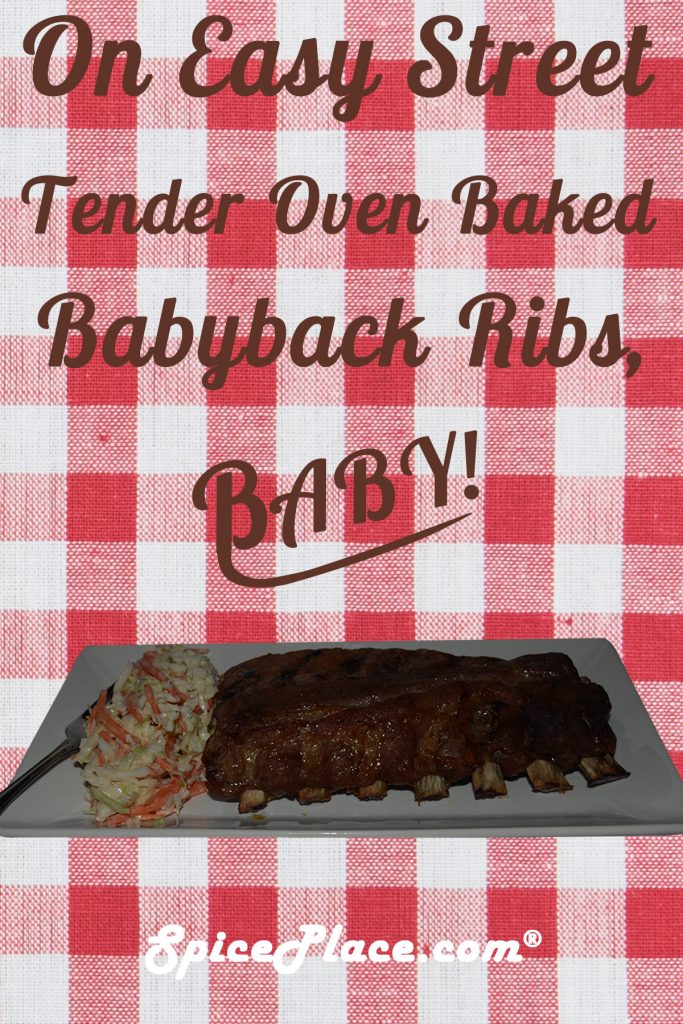
Pork Baby Back Ribs Baby!
On Easy Street Tender Oven Baked Pork Baby Back Ribs, Baby!

Years ago it was really a difficult process to make a set of tender pork ribs. We used to pare boil, then smoke them slowly on the barbecue and yet they still didn’t come out tender.

But all of that has changed. These days there is nothing to making a tender rack of ribs at home – even in your oven as we are doing here. Simple season the ribs with your favorite seasoning and bake for an hour at 350° F. Test for doneness with a thermometer in center of meat and it should be 165° F. For a visual check, the meat should be just beginning to pull from the bones. But do use the thermometer for your food safety.

Ingredients:

Directions:

  1. Preheat oven to 350° F.
  2. If desired, cut rack of ribs in half
  3. Place ribs in a shallow baking pan and sprinkle seasoning evenly over them.
  4. Bake for 1 hours (or until internal temperature is 165° F.

Serve with cole slaw and/or potato salad.

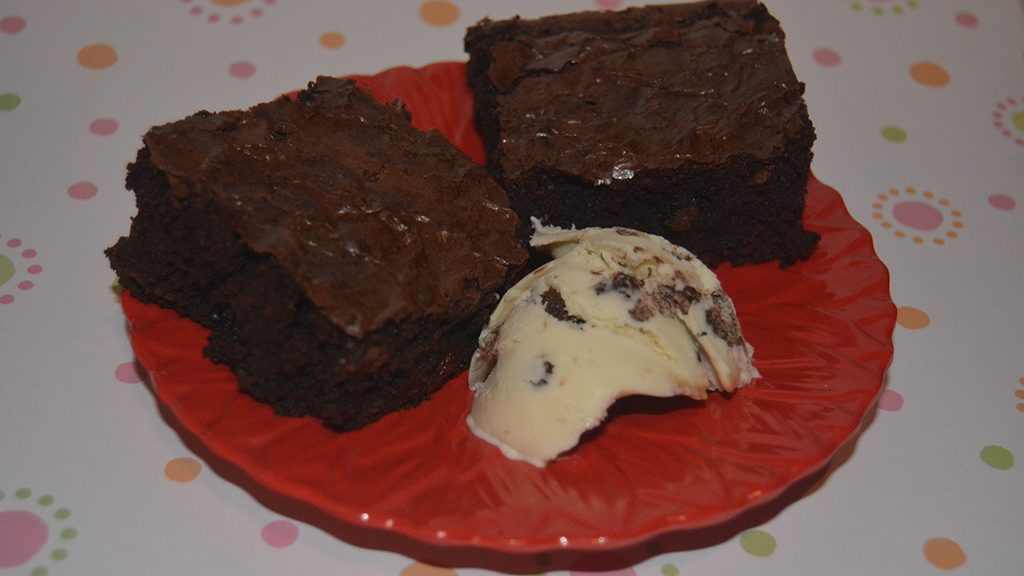
Serving of Ghirardelli Brownies and Ice Cream

Thoughts Of Love and Chocolate Brownies for St Valentines Day

With Valentines Day just around the corner … ones mind begins filling with thoughts of love, chocolate and chocolate lovers. If your someone special loves chocolate, think about making a batch of Ghirardelli Triple Chocolate Brownies to share with them on St. Valentines Day.

Ghirardelli Brownies are delicious when served with a scoop of ice cream. What could be better to show your affection then making your own creation, brownies from scratch, well almost, and ice cream?  With Ghirardelli Brownies you’ll make a guaranteed great brownie the first time. Since they are from choclotiers Ghirardelli, the result is the darkest, richest, and chewiest brownies for you and your loved one to enjoy.

These brownies are easy to make – you only need 4 ingredients and about 10 minutes to mix and then 45 minutes to bake. So in under an hour, you’ll have made some delicious brownies all by yourself. You can find Ghirardelli Triple Chocolate Brownie Mix  in large sizes at Spiceplace.com

Sumptuous Lobster Rolls For The Big Game Meal

Picture of a Serving of Homemade Lobster Roll
Prepared Lobster Roll

Somehow Buffalo Wings became the staple meal for the Big Game. And while lobster seems like an expensive, once in a while special treat, the price has come down lately so the price per serving of this recipe is quite reasonable.

This is a simple and yummy meal that’s ready in minutes. These are best served on top sliced frankfurter rolls just like is done in Maine . Look for these top sliced rolls at a grocer carrying Pepperidge Farms bakery goods.

The buns are baked so they are warm. Add the cold lobster salad mix into the hot buns and serve immediately. The contrast of the warm bun with the cold lobster is part of the experience in eating this dish.

Here’s what you’ll need to make these Lobster Rolls:

  • A package of 8 top-sliced frankfurter rolls
  • butter
  • 3 cups cooked, chopped lobster meat††
  • 1/2 cup chopped celery stalks
  • 1/2 to 3/4 cup Mayonnaise
  • 1/2 tsp McCormick Basil Leaves
  • 1/2 tsp McCormick Parsley Flakes
  • 1/4 cup finely chopped green onion tops (green parts only)
  • Lemon juice
  • Salt and Pepper
  • Hot Sauce such as Sriracha Hot Sauce
  1. Preheat your over to 400 degrees F.
  2. Split open the frankfurter rolls and butter lightly.
  3. Bake the frankfurter rolls until lightly browned.
  4. Combine the remaining ingredients to form a lobster salad and mix well. Season with salt, pepper, hot sauce and lemon juice to taste.
  5. Evenly distribute the prepared lobster salad mix into the 8 buns.

† You may substitute side sliced rolls if unable to find top sliced frankfurter rolls.

†† Because the lobster salad is served cold, this meal turns out equally well with fresh cooked lobster, store cooked lobster or frozen cooked lobster meat from the grocers frozen food section. The latter frozen lobster is a cheat that saves a few steps in making this recipe.


Something Different Tonight, Pizza made with a Cauliflower Crust.

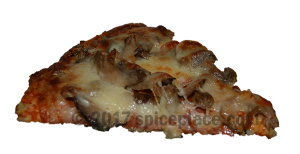
Picture of a single slice of pizza made with cauliflower as crust

Make something special for dinner with this pizza made using cauliflower as the crust. Yes, cauliflower the vegetable.  Cauliflower and Mozzarella cheese are blended, then pre-baked into a crust. Then top with your favorite pizza toppings and bake. This pizza turns out very well and if no-one was watching you, they might not know that they were eating their vegetables with that pizza you served them for dinner. Secret veggie-agent-cooking. Shhh.

The first time you make this cauliflower pizza crust it may seem like a lot of work. Yet, like lots of things in life, once you get the grasp of doing it, you’ll find it’s a piece of cake.

So, first things first. Here’s what you’ll need:

  1. Preheat oven to 425 degrees F.
  2. Microwave riced cauliflower in a covered dish on high for about 4 minutes.††
  3. Let stand covered for 1 minute.
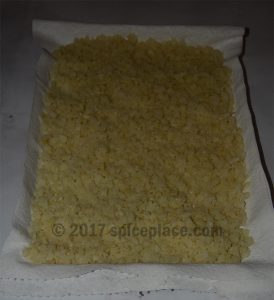
  4. Line a large baking pan or other flat dish with paper towel and spread out the cooked cauliflower and allow to cool for about 10 minutes.
  5. Place cauliflower into a large mixing bowl and add the remaining ingredients. Mix well and form into a ball.
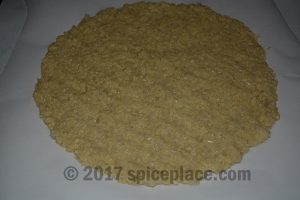
  6. Line a round pizza pan with parchment paper then form the cauliflower dough into a round pizza crust and place on the pan.
  7. Place a cookie cooling rack in the oven and slide the pizza crust on the parchment paper onto the rack and bake for 15 to 18 minutes until lightly browned.
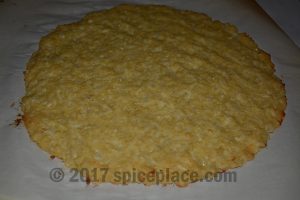
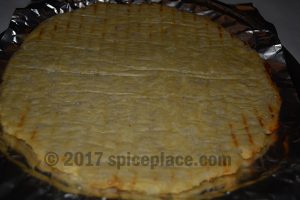
  8. Remove crust from oven.  Let cool for 10 minutes.
  9. Carefully flip crust over. Do this by placing round pizza pan on top of cooled crust and flip cookie cooling rack. Top with your favorite pizza sauce and toppings.
  10. Return to oven and bake for 10 to 12 minutes until cheese is melted.  Cook longer for a crisper crust or cook on a pizza stone.
  11. Remove, slice, and eat white hot but not too hot!

† A food processor makes this step a breeze. Or you can check your grocer to see if they carry a prepared package of riced cauliflower. But it’s really not that hard to chop a cauliflower with a plain old kitchen knife.
††Microwave ovens vary so watch as you cook as yours might cook faster).
Pictures of step of preparing the Cauliflower pizza crust:

  • Par cooked cauliflower cooling and drying
    4. Par cooked cauliflower cooling and drying
  • Assembled cauliflower pizza crust ready for baking
    6. Assembled cauliflower pizza crust ready for baking
  • Baked cauliflower pizza crust cooling
    8. Baked cauliflower pizza crust cooling
  • Fully prepared cauliflower pizza crust ready for addition of toppings.
    9. Fully prepared cauliflower pizza crust ready for addition of toppings.
  • Picture of a cooked pizza made using cauliflower as crust
    11. Picture of a cooked pizza made using cauliflower as crust

Save

Snickerdoodle Cookies for the Holidays … or anytime

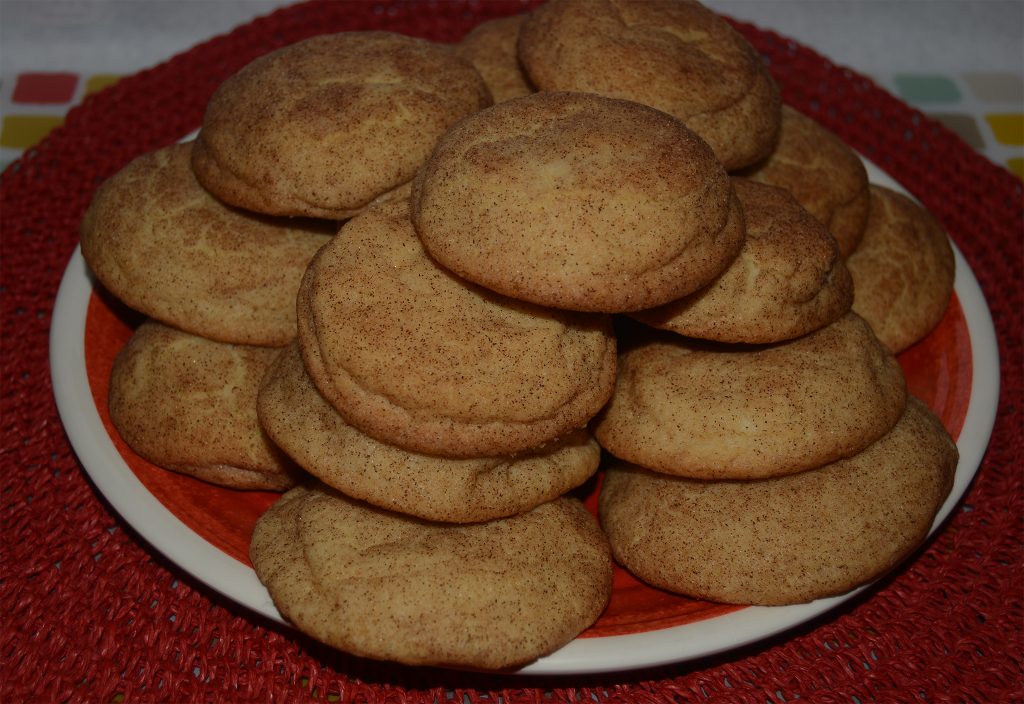
Fresh made Snickerdoodle Cookies on Serving Dish


With just a few simple ingredients and a little bit of time, you can make these delicious Snickerdoodle Cookies to share with your family and friends for Christmas, other seasonal holidays, or anytime for that matter. Snickerdoodle Cookies have the delicious flavor of cinnamon, sweet sugar taste, and the velvety butter mouth feel.  If you get these Snickerdoodle Cookies baked just right, they’ll have a browned bottom, crispy  top and a soft inside, YUM! Read more